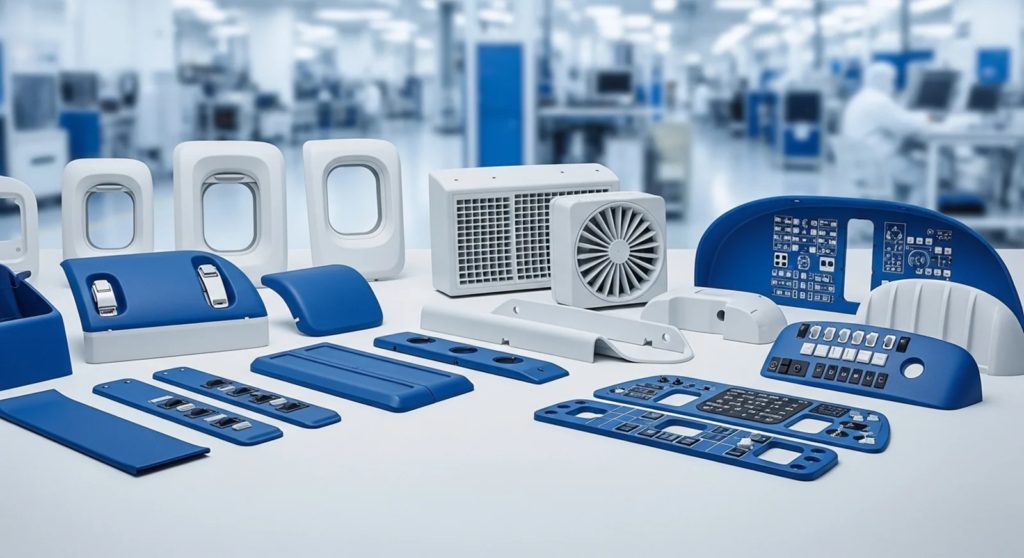
The automotive industry runs on tight tolerances, strict safety standards, and production timelines that leave very little room for error. When engineers develop new plastic components for vehicles from interior trim panels and dashboard housings to fluid reservoirs, sensor covers, and under-hood brackets the stakes are high. A component that fails on the production line, or worse, in the field, can cost significantly more than the time spent validating it upfront. That is why Prototyping has become one of the most critical stages in automotive product development. It allows engineers to physically test, validate, and refine designs before any large-scale tooling investment is made.
This article breaks down how engineers actually use Rapid Prototyping to evaluate plastic components in the automotive sector, what specific tests are conducted, and why the prototyping process differs meaningfully from final production.
Why Prototyping Comes Before Production in Automotive Plastic Development
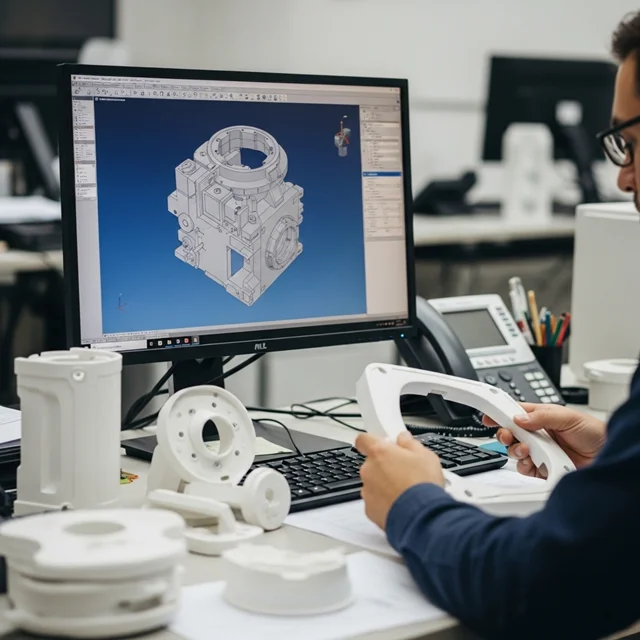
Before committing to expensive hard tooling for injection molding or blow molding, automotive engineers need to confirm that a design works physically, functionally, and within the manufacturing process. Plastic Designing & Engineering begins with CAD models, but a 3D file on a screen cannot fully predict how a plastic component will behave under heat, vibration, torque, or chemical exposure. Prototypes bridge that gap. They allow teams to identify dimensional issues, weak points in wall thickness, gating locations in molds, and assembly fit problems before a single production tool is cut.
The cost difference is not trivial. Modifying a CAD file costs hours. Modifying a Plastic Molding tool after it has been machined can cost tens of thousands of dollars and weeks of delay. Prototyping is, fundamentally, a risk management step that protects both timeline and budget. Every automotive program whether it is a next-generation EV platform or a refresh of an existing interior system benefits from a structured prototyping phase that closes the gap between digital design intent and physical manufacturing reality.
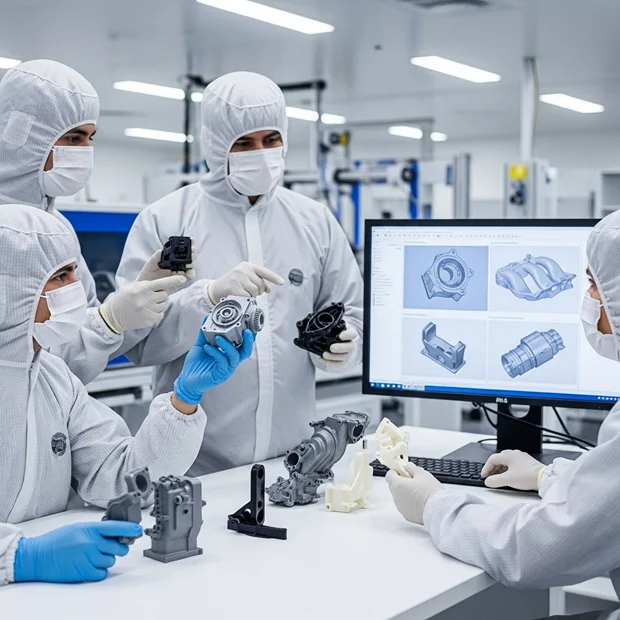
Key Methods Engineers Use to Prototype Automotive Plastic Components
There is no single way to prototype a plastic component. Engineers select their approach based on what they need to validate. The most common methods used in automotive development include Rapid Prototyping via 3D printing (SLA, SLS, FDM), CNC machined prototypes, and soft-tool or bridge-tool Plastic Molding. Each method produces a different level of fidelity and serves a different testing purpose at a different stage of the development cycle.
3D-printed prototypes are fast and inexpensive, making them useful for early-stage design checks, ergonomic reviews, and fit verification. However, they typically do not replicate the material properties of production-grade resins such as ABS, polypropylene, nylon, or polycarbonate. For structural and thermal testing, engineers need prototypes made from actual production materials, which is where CNC Plastic Machining becomes the preferred approach. CNC machining allows teams to cut functional prototypes from production-equivalent thermoplastic stock with tight tolerances, giving them accurate mechanical performance data before tooling is finalized.
For components that require overmolded features, snap-fit connections, or assemblies involving Plastic Welding & Assembly, bridge tooling or soft aluminum molds are used to produce small prototype runs. These are molded parts that closely replicate the behavior of final production components and they are the standard for functional testing and regulatory submission samples across automotive programs.
What Engineers Actually Test During Automotive Plastic Component Prototyping
Prototyping without structured testing delivers little engineering value. The real work happens during validation, where plastic components are subjected to the conditions they will face in service. Automotive engineers use prototypes to conduct dimensional inspection, fit-and-function checks against mating assemblies, thermal cycling tests, chemical resistance evaluations, and vibration fatigue tests. Interior plastic components are also assessed for UV stability, scratch resistance, surface texture uniformity, and compliance with OEM color and gloss specifications.
Under-hood components sensor brackets, fluid line clips, coolant reservoir housings are specifically tested for temperature resistance and creep behavior, because engineering-grade plastics like glass-filled nylon or PPS must retain their shape and strength at sustained high temperatures. Exterior plastic components such as bumper skins, mirror housings, and wheel arch liners are tested for impact resistance and weatherability. Any deviation from performance expectations feeds back into the Plastic Designing & Engineering stage for a design revision, keeping the iterative loop tight and controlled before production tooling is sanctioned.
The Critical Difference Between Prototyping and Production in Plastic Manufacturing
One of the most important things engineers understand about Prototyping is that prototype parts are not production parts and they are not intended to be. The purpose of a prototype is to generate validated data, not to ship product. This distinction directly affects material selection, tolerances, surface finish expectations, and cycle time. A Rapid Prototyping process optimizes for speed and design flexibility, while a production Plastic Molding process optimizes for repeatability, tight process windows, and per-unit cost efficiency.
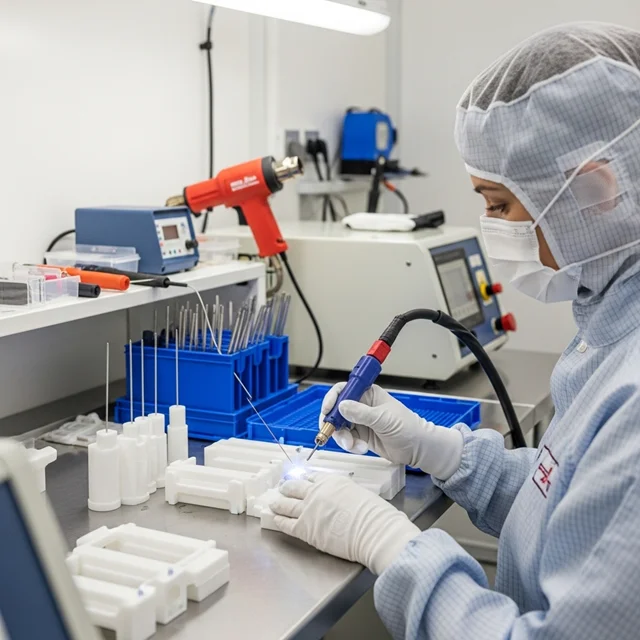
In production, Plastic Machining is typically used for low-volume runs, complex geometries, or components requiring extremely tight tolerances that standard molding cannot consistently achieve. In prototyping, the same machining capability validates those tolerances before mold design is locked. Similarly, Plastic Welding & Assembly processes like ultrasonic welding, hot plate welding, and vibration welding are tested during the prototype phase to confirm joint strength and hermetic seal performance meets automotive specifications before volume production begins. Skipping this step is one of the most common and costly mistakes engineering teams make.
Cleanroom Requirements in Automotive Plastic Component Prototyping
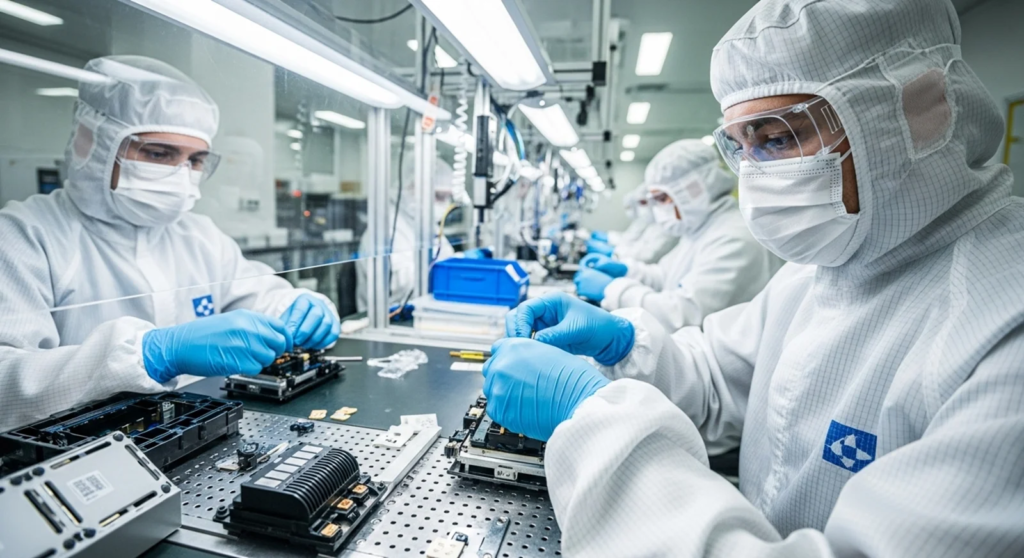
Not all automotive plastic components are produced in standard shop-floor conditions. Sensor assemblies, optical components, electronics housings, and fluid management parts destined for Cleanroom Assembly environments in production also need to be prototyped under those same controlled conditions. Particle contamination on a prototype surface can corrupt dimensional measurements, affect bonding performance during welding, or introduce defects into test samples that do not reflect real-world production outcomes.
Automotive engineers working on camera systems, LiDAR housings, EV battery management enclosures, and ADAS sensor modules increasingly require prototype builds to take place in Class 7 cleanroom environments. This ensures that validation data gathered during prototyping is directly comparable to what will be achieved in production. Mixing prototype and production environments introduces uncontrolled variables that make test results unreliable creating false-pass or false-fail outcomes that cost both time and money at the worst possible stage of a program.
Why Foxx Technologies Stands Out for Automotive Plastic Prototyping
Foxx Technologies delivers end-to-end plastic component solutions for the automotive sector covering Plastic Designing & Engineering, Rapid Prototyping, Plastic Molding, Plastic Machining, Plastic Welding & Assembly, and Cleanroom Assembly. With over 15 years of experience, five manufacturing facilities, and six Class 7 cleanrooms across the USA and India, Foxx Technologies supports automotive plastic development from concept through production-ready validation under one roof, with precision and compliance built in.
Frequently Asked Questions
Q1. What is the main purpose of prototyping in automotive plastic component development?
Prototyping allows engineers to physically validate plastic component designs checking dimensions, fit, material performance, and assembly behavior before committing to expensive production tooling. It reduces development risk, shortens design iteration cycles, and ensures the final molded part performs as intended under real automotive operating conditions and OEM quality standards.
Q2. What is the difference between rapid prototyping and CNC plastic machining in automotive testing?
Rapid Prototyping methods like 3D printing produce parts quickly for design verification and visual checks, while Plastic Machining uses production-equivalent materials to generate parts with accurate mechanical properties. Machined prototypes are preferred when structural, thermal, or dimensional testing requires data that directly predicts how production-molded parts will perform.
Q3. Why do some automotive plastic prototypes need to be built in a cleanroom?
Components like sensor housings, EV electronics enclosures, and optical assemblies are manufactured in Cleanroom Assembly environments in production. Prototyping these parts under the same controlled conditions ensures validation data is free from contamination variables, making it directly applicable to production approval and regulatory submissions required by automotive OEMs.
Q4. At what stage is plastic welding validated during automotive component prototyping?
Plastic Welding & Assembly processes are validated during prototype builds to confirm that joint strength, hermetic sealing, and bond integrity meet automotive specifications. Ultrasonic and vibration welding tests on prototype assemblies define tooling fixture requirements and process parameters needed for consistent, defect-free weld joints at production volume.
Q5. How does plastic designing and engineering connect to the prototyping workflow?
Plastic Designing & Engineering produces the CAD models and design intent that prototypes are built from. When prototype testing reveals a failure a stress crack, a fit issue, or a thermal deformation engineers revise the CAD design and the prototype cycle repeats. This iterative loop between design and physical validation is what produces production-ready plastic components that meet automotive safety, performance, and quality requirements consistently.